

Complete Guide to Replacing the Headlight Bulb in a Mitsubishi Mirage
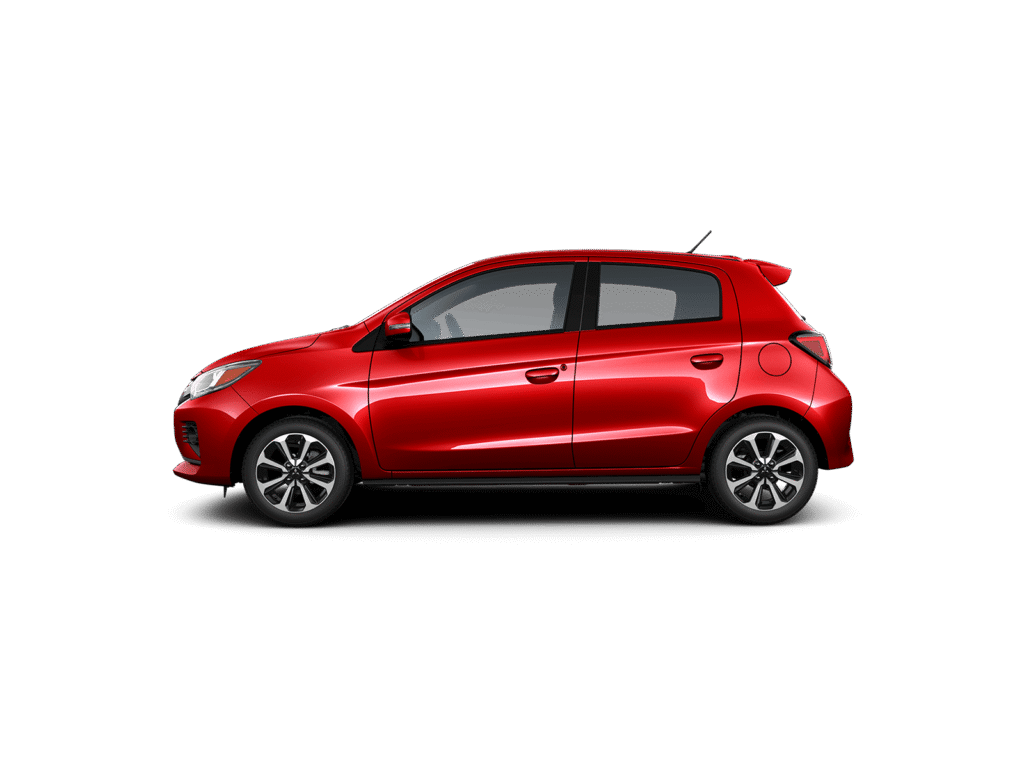
The Mitsubishi Mirage is a compact and economical vehicle that has gained popularity for its efficiency and ease of maintenance. One of the simplest procedures that owners can perform themselves is headlight bulb replacement. This article will guide you step-by-step through the process, ensuring that you can drive safely and clearly.
Content in this publication
Why Replace the Headlight Bulb?
Headlight bulbs have a limited lifespan. Over time, they may become cloudy, lose their brightness, or even burn out completely. A defective headlight not only reduces visibility during nighttime driving but can also lead to traffic violations. Therefore, it is essential to keep them in optimal condition.
Tools and Materials Needed
Before you begin, make sure you have the following:
You may be interested in reading Mitsubishi Mirage Wiper Blade Size and Replacement Guide (All Years)
- Replacement bulb (usually H4 or 9003 for the Mirage)
- Latex or cloth gloves
- Flat or star screwdriver (depending on the model)
- Flashlight (if working in low light conditions)
- Electrical tape (optional, to secure connections)
Steps to Replace the Headlight Bulb
1. Initial Preparation
Park the vehicle on a flat surface and turn off the engine. Open the hood using the lever inside the vehicle, typically located on the driver's side. Make sure the vehicle is turned off and the lights are off to prevent any electrical accidents.
2. Access the Headlight
Locate the back of the headlight where the bulb is housed. Depending on the model, you may need to remove a rubber cover or a plastic connector. Use the screwdriver to release any fasteners blocking access.
3. Disconnect the Bulb
Once the bulb is exposed, disconnect the electrical connector by pressing the side tabs and gently pulling it out. It’s important not to force the connector to avoid damage.
You may be interested in readingMitsubishi Mirage Wiper Blade Size and Replacement Guide (All Years)You may be interested in reading
 Complete Guide to Replacing the Front Wheel Bearing on the Mitsubishi Mirage 1.2L
4. Remove the Faulty Bulb
The bulb is usually secured by a metal clip or a bracket. Gently press or release this mechanism and remove the faulty bulb. If the bulb is hot, wait for it to cool before handling it.
5. Install the New Bulb
Take the new bulb with gloves or a clean cloth to prevent oils from your hands from coming into contact with the glass, which could reduce its lifespan. Insert the bulb into its socket, ensuring it fits correctly.
6. Reconnect and Verify
Reconnect the electrical connector to the new bulb. Make sure it is securely attached. Turn on the vehicle and test the lights to confirm the new bulb is working properly.
You may be interested in readingMitsubishi Mirage Wiper Blade Size and Replacement Guide (All Years)You may be interested in reading
Complete Guide to Replacing the Front Wheel Bearing on the Mitsubishi Mirage 1.2LYou may be interested in reading
 Mitsubishi Mirage Lug Nut Size Guide (2025 Update)
Additional Tips
- Replace in Pairs: If one bulb has burned out, it is recommended to change both at the same time to ensure uniform lighting.
- Choosing Bulbs: Consider options like LED or Xenon bulbs for greater brightness and durability. For example, the Sylvania XtraVision 9003XV-2 bulb is a popular choice for the Mirage.
- Regular Maintenance: Periodically check the condition of the bulbs and other electrical components of the vehicle to ensure they are functioning properly.
Conclusion
Replacing the headlight bulb in a Mitsubishi Mirage is a simple task that you can do yourself with the right tools and by following the steps outlined above. Keeping your lights in good condition not only improves road safety but also extends the lifespan of your vehicle.
If you need more information or assistance, consult the owner’s manual for your Mitsubishi Mirage or visit a certified professional.
If you want to know other articles similar to Complete Guide to Replacing the Headlight Bulb in a Mitsubishi Mirage you can visit the category Service and Parts.
Hyundai i40 Service Reset: Complete Step-by-Step Guide
Hyundai i40 Wheel Size: Complete Fitment and Upgrade Guide
Hyundai i40 Fuel Tank Capacity: Complete Size and Range Guide
Hyundai i40 Towing Capacity: Complete Practical Guide
Hyundai i40 Timing Chain Replacement Cost UK: Complete Price Guide
Hyundai i40 Gearbox Replacement Cost UK: Complete Price Guide
Leave a Reply
More content of your interest