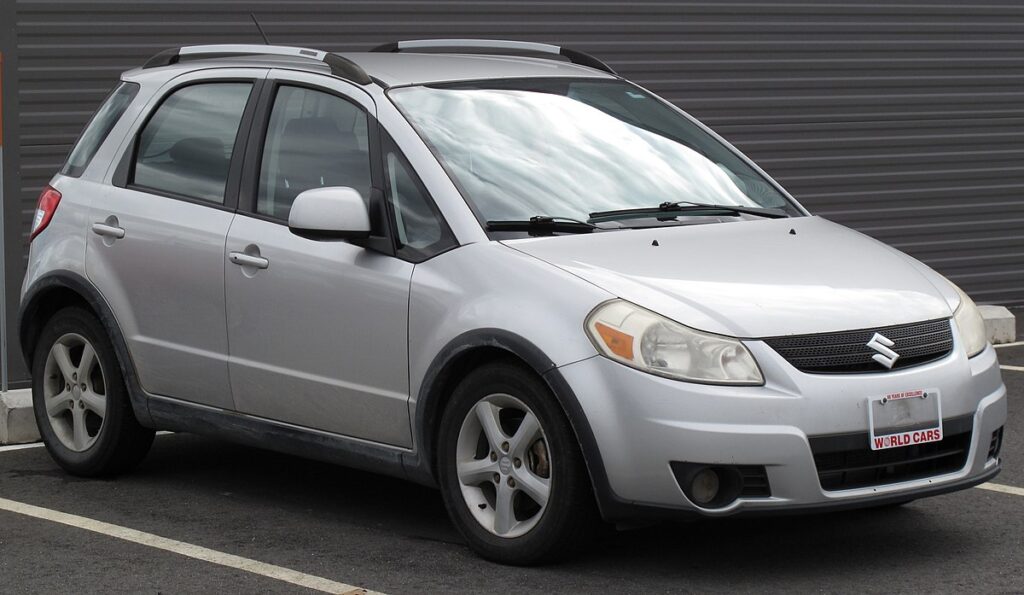
How to Replace Headlight Bulbs on a Suzuki SX4 (2008-2014)

Replacing the headlight bulbs on a 2008-2014 Suzuki SX4 is a straightforward task that requires minimal tools and no disassembly of the entire headlight unit. In this guide, we’ll walk you through each step to safely and efficiently change your headlight bulbs and restore full brightness to your vehicle.
Step-by-Step Guide to Replacing Headlight Bulbs on a Suzuki SX4
Why and When You Should Replace Headlight Bulbs
- Over time, halogen bulbs lose brightness and may develop a yellow tint or flicker.
- It’s best to replace both bulbs at the same time to ensure even brightness and color temperature (a common recommendation from automotive lighting manufacturers).
- If one bulb has burned out or is significantly dimmer than the other, it’s time for a replacement.
Which Bulb Type Does the Suzuki SX4 Use?
Before buying a replacement, make sure you know the correct bulb type for your specific model. For most Suzuki SX4 models, compatible bulbs include 9007 (or similar), available in both halogen and LED versions.
Check your vehicle owner’s manual or verify compatibility at an auto parts store or reputable online retailer.
 Suzuki SX4 Fuel Tank Capacity (2007–2013): Complete Guide
Preparation Before Replacing the Bulb
Tools and Safety Precautions
- Wear gloves or use a clean cloth when handling the new bulb — oils from your skin can shorten its lifespan.
- Ensure the engine is off and that the headlights have cooled down before starting.
- Open the hood and locate the rear side of the headlight housing.
Removing the Old Bulb
Detaching the Rear Cover
- In the SX4, the bulb is held in place by a white plastic housing at the rear of the headlight assembly.
- Rotate this housing counterclockwise to unlock it.
- Once it’s loose, pull it gently toward you to remove it.
Disconnecting the Electrical Connector
- After removing the bulb, unplug the electrical connector by pulling it straight off.
- Check that the connector is clean and free of corrosion or damaged wires.
Installing the New Bulb
Proper Insertion
- Align the new bulb’s tabs with the slots in the headlight housing.
- Insert the bulb firmly but gently.
- Rotate the white plastic base clockwise to secure it in place.
Reconnecting the Power Plug
- Plug the electrical connector back in securely.
- Make sure it’s tight and won’t disconnect due to vibration.
Testing the Lights
- Turn on the headlights to confirm the new bulb is working correctly.
- If it doesn’t light up, check the connector or reposition the bulb to ensure proper contact.
Repeat for the Passenger Side
The passenger side follows the same steps as the driver’s side:
- Access the bulb through the same opening.
- Twist to unlock, pull out the old bulb, plug in the new one, and secure.
This symmetrical design makes the process equally easy on both sides.
You may be interested in reading Suzuki SX4 Fuel Tank Capacity (2007–2013): Complete Guide
 Nissan Xterra Camshaft Position Sensor Location and Replacement Guide
Pro Tips for Best Results
- Replace both bulbs at once for consistent brightness and color.
- Even if one bulb still works, consider replacing it if it’s several years old — halogen performance fades gradually.
- Avoid touching the bulb glass — use gloves to prevent premature failure.
- For a lighting upgrade, consider LED conversions that fit your SX4, ensuring they meet road safety and legal standards.
Replacing the headlight bulbs on a Suzuki SX4 (2008-2014) is a simple DIY task that doesn’t require specialized tools or mechanical experience. Following these clear steps ensures both headlights are secure, bright, and safe for nighttime driving.
With a few minutes of care and the right bulbs, you can restore your vehicle’s visibility and improve road safety — all without a trip to the mechanic.
You may be interested in reading Suzuki SX4 Fuel Tank Capacity (2007–2013): Complete Guide
 Nissan Xterra Camshaft Position Sensor Location and Replacement Guide
 Nissan Xterra Transmission Fluid: Complete Guide for All Models
If you want to know other articles similar to How to Replace Headlight Bulbs on a Suzuki SX4 (2008-2014) you can visit the category Service and Parts.
Leave a Reply


More content of your interest