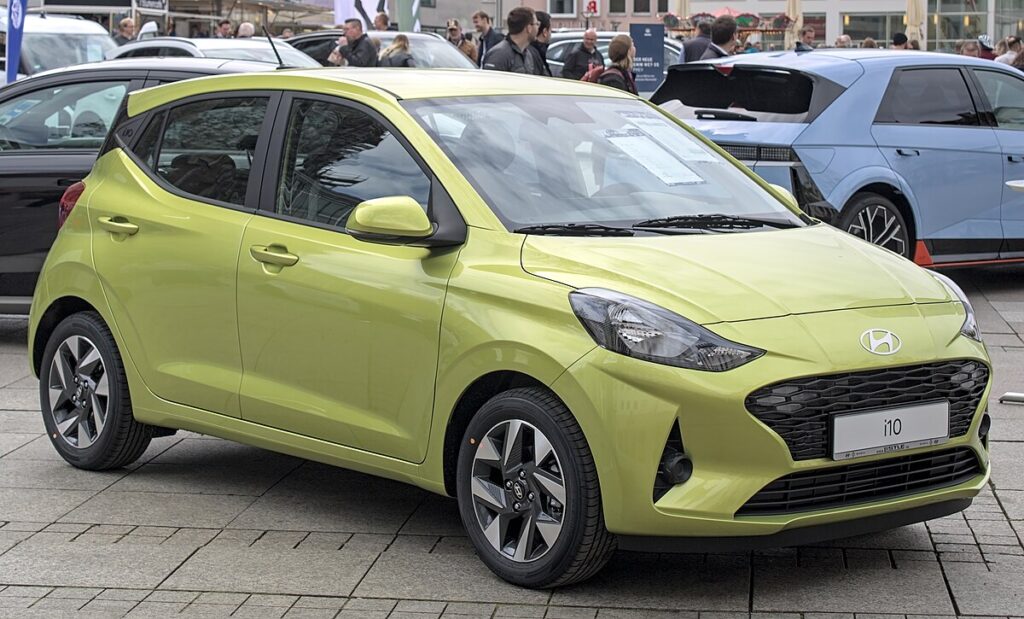
Hyundai i10 Daytime Running Light Bulb Replacement – Complete Step-by-Step Guide

When driving, ensuring proper visibility and safety is crucial. In the Hyundai i10, the daytime running lights (DRL) play a key role in making the vehicle more visible to others during daylight hours. In this detailed guide, we explain step-by-step how to replace the daytime running light bulb safely, efficiently, and with simple tools.
What Is a Daytime Running Light and Why Replace It?
The Function of Daytime Running Lights
Daytime Running Lights (DRLs) automatically turn on when the engine is running and the parking brake is released. These lights increase the car’s visibility to other drivers and pedestrians, helping to reduce accident risks.
You may be interested in reading How to Replace the Hyundai i10 Key Fob Battery
Why Replace the Bulb?
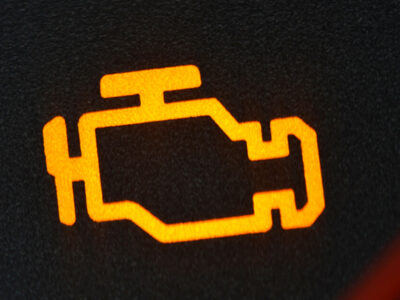
- A burned-out DRL bulb can cause one light to stop working, triggering a dashboard warning.
- Over time, the light intensity decreases—sometimes by over 20%—reducing brightness and safety.
- Replacing the bulbs as soon as one fails ensures balanced illumination on both sides of the vehicle.
Compatibility and Preparation
Compatible Hyundai i10 Models
This guide applies to multiple Hyundai i10 generations, particularly the second generation (2013–2019). These versions use easily replaceable DRL bulbs, and LED plug-and-play kits are also available for this range.
Checks Before Starting
Before replacing the bulb, make sure to:
You may be interested in reading How to Replace the Hyundai i10 Key Fob Battery
 Hyundai i10 Engine Oil Capacity and Specifications (All Models and Years)
- Turn off the engine, remove the key, and let the engine bay cool down.
- Confirm that the replacement bulb matches the correct voltage, wattage, and fitting type.
- Prepare basic tools such as clean gloves, a screwdriver, and a flashlight.
- If the DRL does not light up after replacement, inspect the DRL module or related fuse.
Step-by-Step DRL Bulb Replacement
Accessing the Bulb
Common Access Methods
Depending on the i10 version, there are two main ways to access the DRL bulb:
- Removing the lower bumper cover to reach the light housing from underneath.
- Removing part of the wheel-arch liner (inner fender) to reach it from the side.
Step-by-Step Access
- Loosen the fasteners or clips securing the bumper cover or inner fender.
- Disconnect any electrical connectors blocking access to the bulb holder.
- Locate the DRL bulb housing, typically situated behind the main headlamp cluster or in a separate DRL module.
Removing and Installing the New Bulb
Removing the Old Bulb
- Carefully unplug the electrical connector from the bulb.
- Twist or unclip the bulb from its socket, depending on the design.
- Avoid touching the glass of the new bulb with bare fingers, as oils from the skin can cause premature failure.
Installing the New Bulb
- Insert the new bulb exactly in the same position and direction as the old one.
- Reconnect the electrical plug securely.
- Reinstall any covers, screws, or clips that were removed.
- Start the vehicle and confirm that both DRLs work evenly and emit consistent brightness. If one appears dimmer, replace both bulbs for uniform light output.
Extra Tips and Common Mistakes
Best Practices
- Always replace both DRL bulbs at the same time for consistent lighting.
- Wear clean gloves when handling halogen bulbs.
- Clean the inside of the headlight housing if accessible to remove dust or condensation.
- Check the headlight alignment and brightness after installation.
Mistakes to Avoid
- Using the wrong bulb type: can cause poor fitment or even melt the housing.
- Touching the bulb glass: leads to reduced lifespan due to heat spots.
- Ignoring a dim bulb: results in uneven lighting and potential safety issues.
- Improper sealing: allows moisture inside the housing, which can damage the light or connector.
Conclusion
Replacing the daytime running light bulb in a Hyundai i10 is a straightforward DIY task that doesn’t require advanced mechanical skills. By following these simple steps—from accessing the housing to installing the new bulb—you can restore optimal visibility and ensure your vehicle remains safe and compliant.
You may be interested in reading How to Replace the Hyundai i10 Key Fob Battery
 Hyundai i10 Engine Oil Capacity and Specifications (All Models and Years)
 Hyundai i10 1.2 Timing Chain Replacement Cost and Diagnosis Guide
Taking a few minutes to perform this maintenance not only improves safety but also prolongs the lifespan of your lighting system.
If you want to know other articles similar to Hyundai i10 Daytime Running Light Bulb Replacement – Complete Step-by-Step Guide you can visit the category Service and Parts.
Leave a Reply


More content of your interest