

How to Replace the Passenger-Side Catalytic Converter on a Nissan Xterra (2005-2015)
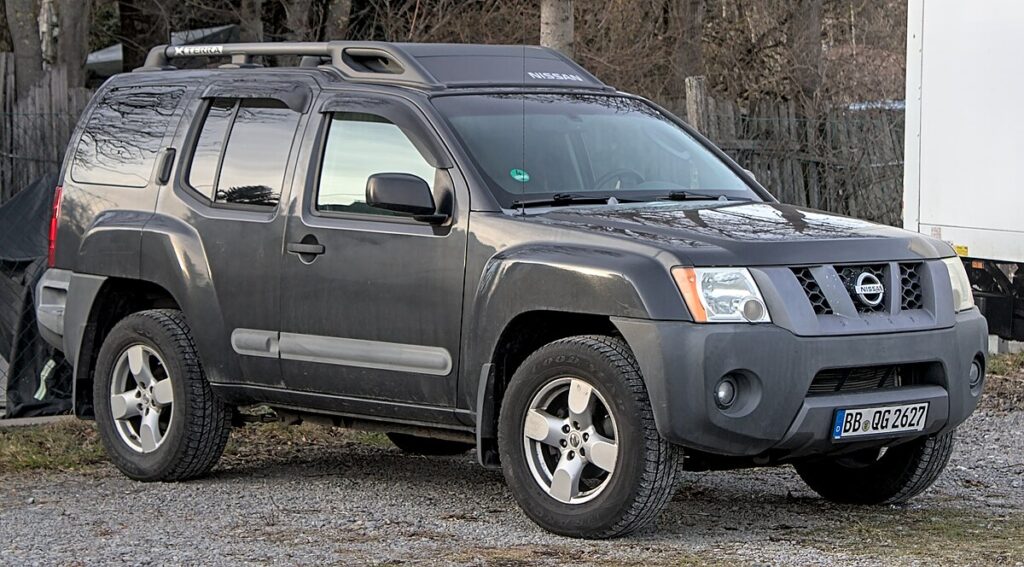
Replacing the passenger-side catalytic converter on a 2005-2015 Nissan Xterra can be done at home with the right tools and a clear step-by-step approach. This guide explains how to remove, install, and secure the new catalytic converter, the most common challenges you’ll face, and practical tips to make the process smoother and faster.
Content in this publication
Preparation and Safety Before Removal
Recommended Tools and Parts
Before starting the job, make sure you have the following:
- Hydraulic jack or lift for safe access to the exhaust system
- Metric sockets and wrenches (10 mm, 14 mm, etc.)
- Penetrating oil (like WD-40) and a wire brush
- New exhaust gaskets and suitable bolts/nuts (since many aftermarket converters don’t come with studs)
- Oxygen sensor (O₂) socket or wrench
- Gloves, safety glasses, and a dust mask if you’re working in tight spaces
It’s also smart to use an exhaust hanger support to hold the system when it’s unbolted.
You may be interested in reading Nissan Xterra Fuel Tank Capacity: Detailed Overview
Assess What Needs to Be Removed First
The passenger-side converter on the Xterra is partially hidden behind several components, including:
- The inner fender liner
- Upper and lower heat shields
- Exhaust hangers and supports
Start by removing the inner fender liner to gain more space for tool access. Spray all bolts and nuts with penetrating oil in advance to prevent them from seizing or breaking when loosened.
Step-by-Step: Removing the Old Catalytic Converter
Removing the Fender Liner and Heat Shields
- Remove the clips or screws holding the inner fender liner to expose the exhaust components.
- Locate the upper and lower heat shields, usually held by 10 mm or 14 mm bolts.
- Loosen them, but don’t remove all the bolts yet—just enough to allow access to the converter area.
Disconnecting the Oxygen Sensor (O₂)
Before unbolting the converter, locate and unplug the oxygen sensor wire to prevent damage during removal. This makes it much easier to maneuver the part. Many Xterra owners note that unplugging it early simplifies the process.
You may be interested in readingNissan Xterra Fuel Tank Capacity: Detailed OverviewYou may be interested in reading
 How to Replace the Heater Core on a Nissan Xterra (Gen 2: 2005–2015)
Unbolting the Exhaust Joints
- Identify the bolts connecting the converter to the exhaust manifold and mid-pipe.
- Carefully loosen the bolts or nuts—this might require some movement of the exhaust line to create clearance.
- In some cases, you’ll need to loosen additional sections of the exhaust to pull the converter free. Many DIYers confirm this in Xterra and Frontier forums, noting: “you have to loosen the rest of the system first to get it off of the rear cats”.
Once everything is loose, pull the old converter out carefully—it may require some twisting or tilting to clear tight spots.
Installing the New Catalytic Converter
Pre-Installation Checks
- Confirm that the new converter matches the original in length and flange design. Many “direct-fit” models for the 4.0 L V6 Xterra and Frontier fit perfectly.
- If your replacement part doesn’t include studs, make sure you have the proper bolts, nuts, and washers on hand.
- Verify that the O₂ sensor port is correctly positioned for reinstallation.
Mounting the New Converter
- Place the new converter in position with the new exhaust gasket installed.
- Hand-thread as many bolts as possible to hold it loosely in place.
- Reconnect the oxygen sensor and ensure the wire is properly clipped away from heat sources.
- Align the exhaust system so there’s no strain on any of the joints.
Tightening and Testing
- Torque all bolts evenly to manufacturer specifications, alternating sides to avoid warping the flanges.
- Reinstall the upper and lower heat shields, ensuring they don’t touch moving or hot parts.
- Refit the inner fender liner.
- Before reattaching the wheel, start the engine and inspect for exhaust leaks. Look for escaping gases or rattling noises. One Xterra owner mentioned a broken weld caused a rattling noise, which disappeared completely after replacement.
Common Challenges and Helpful Tips
- Rust and seized bolts: Apply penetrating oil in advance and allow it to soak. Heat or impact tools may help if bolts are heavily corroded.
- Tight working space: Be prepared to flex the exhaust system slightly to fit the new part.
- Time estimate: Without pneumatic tools, expect 2–4 hours for this job. Some DIYers reported needing a full day on their first try.
- Compliance: Make sure your new converter is EPA-compliant if required in your area.
- Durability: For long-term reliability, look for stainless steel converters with thick flanges and MIG welds.
Replacing the passenger-side catalytic converter on a 2005-2015 Nissan Xterra requires patience and precision, but it’s a manageable job for the determined DIY mechanic. Following the removal, installation, and testing steps outlined here will help you complete the task confidently.
If your engine runs quietly afterward and no error codes appear, your replacement was a success. Enjoy a smoother, leak-free ride.
You may be interested in readingNissan Xterra Fuel Tank Capacity: Detailed OverviewYou may be interested in reading
How to Replace the Heater Core on a Nissan Xterra (Gen 2: 2005–2015)You may be interested in reading
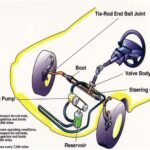 Nissan Xterra Power Steering Fluid Change: Complete Step-by-Step Guide (2005–2015)
If you want to know other articles similar to How to Replace the Passenger-Side Catalytic Converter on a Nissan Xterra (2005-2015) you can visit the category Service and Parts.
Ford Mondeo Key Fob Not Working: Complete Troubleshooting & Fix Guide
Ford Mondeo Gearbox Replacement Cost: What You Really Need to Know
Ford Mondeo Alternator Replacement Cost: Complete Guide for Smart Owners
Ford Mondeo Oil Service Reset: The Complete DIY Guide We Wish We Had Earlier
Ford Mondeo Service Reset: The Complete DIY Guide We Actually Use
Ford Mondeo Headlight Bulb Replacement: The Complete DIY Guide
Leave a Reply
More content of your interest