

Kia Ceed Daytime Running Lights Replacement
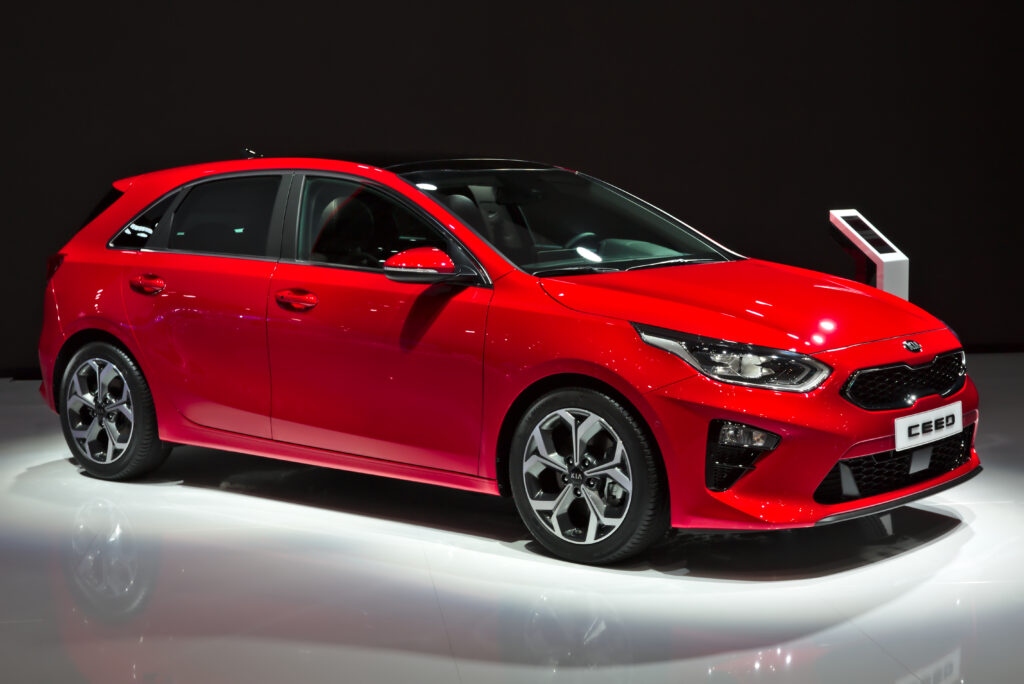
Daytime Running Lights (DRLs) on the Kia Ceed aren’t just a stylish accent; they’re a vital safety feature designed to make us more visible on the road. Yet, like any other bulb or LED module, these little illuminators can fail—sometimes gradually, sometimes all at once, and usually at the most inconvenient moment. So today, we’re diving deep into Kia Ceed daytime running lights replacement with a guide that merges simplicity, expertise, and a relaxed conversational tone that makes the whole journey feel like we’re learning this over a cup of coffee.
Whether we’re driving a first-generation Ceed (2006–2012), the sharper second generation (2012–2018), or the modern MK3 (2018–present), DRL replacement can range from “easy afternoon fix” to “why-did-Kia-put-a-bolt-there?” But don’t worry—we’re breaking it all down step by step.
Content in this publication
- Why Daytime Running Lights Matter More Than We Think
- Signs Your Kia Ceed DRLs Need Replacing
- Understanding Kia Ceed DRL Variations Across Generations
- Tools We Need Before Starting
- How to Replace Daytime Running Lights on a Kia Ceed (General Guide)
- Replacing DRLs on Kia Ceed MK1 (2006–2012)
- Replacing DRLs on Kia Ceed MK2 (2012–2018)
- Replacing DRLs on Kia Ceed MK3 (2018–Present)
- Diagnosing DRL Issues Before Replacing Anything
- Recommended DRL Brands and Replacement Parts
- Ensuring Proper Alignment and Brightness
- Avoiding Common DRL Replacement Mistakes
- Tips to Extend the Lifespan of Your New DRLs
- When to Seek Professional Assistance
- Cost Breakdown for Kia Ceed DRL Replacement
- Final Thoughts: Bringing Light Back to Your Kia Ceed
- FAQs
Why Daytime Running Lights Matter More Than We Think
We often take DRLs for granted—until they stop working. These lights play a silent role in reducing collisions and increasing visibility during daylight hours.
How DRLs Boost Visibility
- They make our Ceed stand out against bright backgrounds.
- They help oncoming drivers notice us sooner.
- They improve lateral visibility at junctions.
Even if they seem like subtle additions, DRLs are like a white shirt on a sunny day—simple, but impossible to ignore.
Signs Your Kia Ceed DRLs Need Replacing
Most drivers only realise the DRLs have failed when someone points it out, or when the car throws a warning message. But here’s how we can catch the issue early:
Symptoms That Should Prompt Replacement
- One DRL is dimmer than the other.
- Flickering when the engine is running.
- Complete failure of one or both DRLs.
- Dashboard alert for exterior lighting malfunction.
- Condensation inside the DRL housing (common on some models).
If we spot any of these symptoms, it's time to act.
Understanding Kia Ceed DRL Variations Across Generations
The Ceed’s lighting design has evolved a lot over the years, and so has the replacement process.
First Generation (2006–2012)
- DRLs often integrated into fog light housing.
- Uses halogen-based bulbs.
- Replacement is fairly straightforward.
Second Generation (2012–2018)
- Signature LED “ice cube" style (GT models).
- Some trims use separate LED DRL modules.
- Replacement sometimes requires bumper loosening.
Third Generation (2018–Present)
- Full LED DRLs integrated into the headlight cluster.
- More efficient but less DIY-friendly.
- Often requires replacing the entire LED module rather than a single bulb.
Every generation has its own quirks—we just need the right strategy.
Tools We Need Before Starting
Let’s avoid the classic scenario of crawling under the bumper only to realise we’re missing a screwdriver.
Essential Tools Checklist
- Torx drivers (T20/T25/T30 depending on year).
- Small socket set (8mm & 10mm common).
- Flathead and Phillips screwdrivers.
- Trim panel removal tool (plastic to avoid scratches).
- Gloves to protect the LED units and our hands.
- Multimeter (optional, for diagnosing electrical issues).
- Replacement DRL bulb or LED module specific to the model year.
Preparation is the difference between a 20-minute job and a 2-hour saga.
How to Replace Daytime Running Lights on a Kia Ceed (General Guide)
Although each model differs slightly, the underlying logic remains the same. Here’s a universal guide to help us tackle DRL replacement with confidence.
Step 1: Switch Off the Vehicle and Ensure Safety
We start simple but essential:
- Turn the ignition off.
- Engage the handbrake.
- Disconnect the battery if working with exposed wiring.
Step 2: Locate the DRL Housing
Depending on the Ceed model, DRLs may sit:
- Inside the main headlight unit.
- Under the headlight near the bumper.
- Integrated into the fog light bezel.
Step 3: Access the DRL Module or Bulb
On some versions, this means:
- Removing a wheel arch liner.
- Removing the headlight unit.
- Partially lowering the bumper.
It sounds intimidating, but once screws start coming out, everything makes sense.
Step 4: Remove the Faulty Bulb or Module
Disconnect the wiring harness gently (these clips can be fragile), then extract the old unit. If it’s an LED module, replacing the whole unit is usually required.
You may be interested in reading Kia Ceed 1.6 CRDi Timing Chain Interval – The Complete Maintenance Guide We All Need
Step 5: Install the New DRL or LED Module
Here’s our golden rule: never touch halogen bulbs with bare fingers—natural oils shorten their life. For LED modules, ensure a snug fit with no moisture gaps.
Step 6: Reassemble and Test
Before tightening the last bolt:
- Start the engine.
- Check the DRL brightness.
- Ensure there’s no flickering or error message.
If everything lights up like a sunrise, we’ve done it right.
Replacing DRLs on Kia Ceed MK1 (2006–2012)
These early models are the easiest to tackle.
Typical DRL Placement
Located in the lower bumper integrated with the fog lamps.
Replacement Steps for MK1
- Turn wheels outward for access.
- Remove the wheel arch plastic panel.
- Reach the DRL bulb socket behind the fog lamp.
- Twist anticlockwise and pull it out.
- Replace with a matching bulb, typically a W21/5W.
- Refit everything and test.
This version is practically DIY-friendly.
Replacing DRLs on Kia Ceed MK2 (2012–2018)
This generation introduces the “ice cube” LEDs but also optional halogen DRLs depending on trim.
Halogen DRL Replacement (Non-GT)
- Access from behind the bumper.
- Remove 8mm bolts securing DRL housing.
- Replace the bulb with the correct type (often P21W).
LED DRL Module Replacement (GT / GT-Line)
Here’s where things become more intricate:
- Remove bumper screws from the wheel arch.
- Loosen undertray clips.
- Carefully pull the bumper forward.
- Disconnect DRL wiring harness.
- Unscrew the LED module from the bezel.
- Install new module and reassemble.
LED modules require complete replacement—the LEDs themselves aren’t serviceable.
Replacing DRLs on Kia Ceed MK3 (2018–Present)
These models feature integrated LED DRLs within the headlamp assembly.
Understanding MK3 DRL Design
- LEDs are sealed inside the headlight.
- No standalone bulbs.
- If the DRL fails, the entire DRL module or headlight unit often must be replaced.
Replacement Approach
- Remove the bumper cover to access headlight bolts.
- Disconnect the wiring harness.
- Remove headlight unit completely.
- Replace LED module if accessible—otherwise, swap entire headlamp assembly.
- Reinstall bumper.
Yes, it’s a bit of a project, but once done, the modern DRLs shine brilliantly.
Diagnosing DRL Issues Before Replacing Anything
Not all DRL failures come from a dead bulb or module.
Other Possible Causes
- Corroded wiring connectors.
- Blown fuse (common and easy to overlook).
- Faulty DRL relay.
- Software error in BCM (Body Control Module).
- Moisture damage inside the DRL housing.
How to Troubleshoot Quickly
- Check fuses labelled “DRL” or “Lighting”.
- Test continuity with a multimeter.
- Inspect wiring harness for cracking or looseness.
Sometimes the fix is cheaper and simpler than expected.
Recommended DRL Brands and Replacement Parts
We want brightness, reliability, and longevity—not a cheap bulb that burns out.
Popular High-Quality Options
- Philips Vision or Ultinon range.
- Osram LEDriving series.
- OEM Kia DRL modules for perfect fitment.
Why Avoid Ultra-Cheap Bulbs?
Because we’ll likely be replacing them again sooner than we’d like.
Ensuring Proper Alignment and Brightness
Some DRLs snap into place without adjustment, but others require fine-tuning.
You may be interested in readingKia Ceed 1.6 CRDi Timing Chain Interval – The Complete Maintenance Guide We All NeedYou may be interested in reading
 Kia Ceed Engine Management Light: Complete Guide to Causes, Fixes & Prevention
Tips for Correct DRL Positioning
- Ensure they point forward, not upward or sideways.
- Check for hot spots or uneven brightness.
- Compare left vs right illumination for symmetry.
A poorly fitted DRL can look like a crooked smile—noticeable and slightly awkward.
Avoiding Common DRL Replacement Mistakes
Even skilled DIY enthusiasts trip up sometimes.
Mistakes to Watch Out For
- Touching halogen bulbs with bare hands.
- Forgetting to reconnect wiring clips.
- Over-tightening screws and cracking the housing.
- Installing non-CANBUS bulbs that trigger dashboard errors.
- Using the wrong replacement part number.
A bit of patience saves a lot of headaches.
Tips to Extend the Lifespan of Your New DRLs
We all want our new lights to last as long as possible.
How to Prolong DRL Life
- Avoid pressure-washing directly on DRL units.
- Fix condensation early to prevent LED burnout.
- Use premium bulbs/modules.
- Ensure wiring is properly insulated.
LEDs last long, but only if we treat them well.
When to Seek Professional Assistance
DIY isn’t always the hero—sometimes calling a technician is the wisest move.
Consider Professional Help If:
- The DRL is part of a sealed LED headlight.
- Removing the bumper feels overwhelming.
- There are electrical fault codes.
- The car is under warranty (avoid DIY voiding).
A pro can complete in 30 minutes what may take us two hours.
Cost Breakdown for Kia Ceed DRL Replacement
Let’s talk money—because nobody likes surprise costs.
Typical Costs by Model
- Halogen DRL bulb: £10–£25
- LED DRL module (MK2 GT): £60–£120
- MK3 sealed headlight assembly: £250–£450
- Labour at garage: £50–£120 depending on complexity
A simple job can stay cheap—unless the whole headlamp needs replacing.
Final Thoughts: Bringing Light Back to Your Kia Ceed
Replacing the daytime running lights on a Kia Ceed shouldn’t feel like rocket science. With a little patience, the right tools, and a clear step-by-step strategy, we can tackle most DRL issues at home—and save money doing it. The improved visibility, sharper daytime look, and peace of mind make the effort well worth it.
So the next time your Ceed flashes that “lighting malfunction” warning, you’ll know exactly where to start, how to proceed, and how to finish the job like a seasoned pro.
FAQs
1. Can I replace Kia Ceed DRLs myself?
Yes—especially on MK1 and many MK2 models. MK3 models may require headlight removal or professional help.
2. Do I need to remove the bumper to access DRLs?
Not always. MK1 rarely requires bumper work; MK2 and MK3 often do.
3. Are DRL bulbs the same as indicator bulbs?
No. DRLs usually use W21W or LED modules, depending on the model.
4. Why do LED DRLs fail on newer Ceeds?
Overheating, moisture ingress, and wiring faults are common causes.
5. Will driving with faulty DRLs fail an MOT?
DRLs themselves aren’t an MOT fail, but if they are fitted, they must not malfunction.
You may be interested in readingKia Ceed 1.6 CRDi Timing Chain Interval – The Complete Maintenance Guide We All NeedYou may be interested in reading
Kia Ceed Engine Management Light: Complete Guide to Causes, Fixes & PreventionYou may be interested in reading
 Renault Megane Tire Pressure: The Real-World Guide We Actually Use
If you want to know other articles similar to Kia Ceed Daytime Running Lights Replacement you can visit the category Service and Parts.
How to Reset Volvo XC60 Infotainment System: The Complete Practical Guide
Volvo XC60 Gearbox Oil Change: The Complete Expert Guide
Volvo XC60 Engine Management Light: Causes, Fixes, and What It Really Means

Skoda Kamiq Size Comparison: Dimensions, Space & Real-World Practicality
Volvo XC60 Headlight Adjustment for Europe: The Complete Practical Guide
Volvo XC60 City Safety Service Required: What It Means, Causes, and Fixes
Leave a Reply
More content of your interest