

Kia Rio Handbrake Adjustment: The Complete DIY Guide for Smooth, Safe Parking

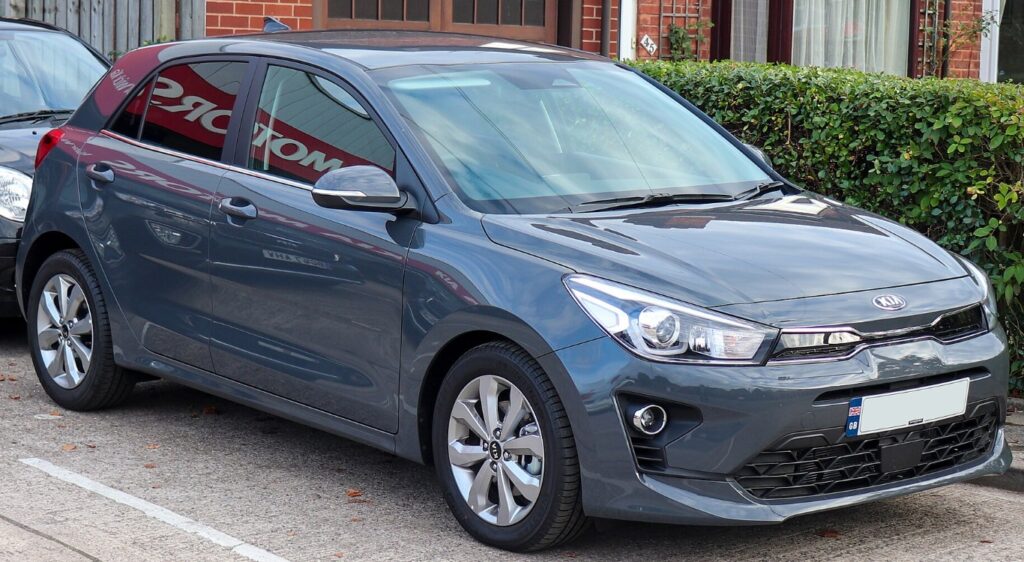
Content in this publication
- Why Handbrake Adjustment Matters More Than You Think
- Understanding How the Handbrake Works
- Signs Your Kia Rio Handbrake Needs Adjustment
- Tools You’ll Need Before Starting
- Safety First: Don’t Skip This Step
- Step-by-Step Kia Rio Handbrake Adjustment
- Adjusting Rear Brake Shoes (If Needed)
- Common Mistakes to Avoid
- How Often Should You Adjust the Handbrake?
- Cost Comparison: DIY vs Mechanic
- Different Kia Rio Generations and Adjustments
- Troubleshooting Persistent Issues
- When to Replace Instead of Adjust
- Pro Tips for a Perfect Adjustment
- Is It Worth Doing Yourself?
- Final Thoughts: Small Fix, Big Impact
- FAQs About Kia Rio Handbrake Adjustment
Why Handbrake Adjustment Matters More Than You Think
Let’s be honest—most of us don’t think about the handbrake until it starts acting up. Maybe it pulls too high, maybe the car rolls slightly on a slope, or maybe it just doesn’t feel as tight as it used to. That’s where proper handbrake adjustment comes into play.
When we talk about the Kia Rio, we’re dealing with a reliable, compact car built for everyday use. But even the most dependable vehicles need a bit of tuning now and then. And the handbrake? It’s one of those small components that carries a big responsibility—keeping your car safely parked.
Understanding How the Handbrake Works
The Basics of a Mechanical System
Your Kia Rio’s handbrake (also known as the parking brake) operates through a cable system. When we pull the lever:
- A cable tightens
- That cable activates the rear brakes
- The wheels lock to prevent movement
Simple, right? But over time, that cable can stretch—like an old rubber band losing its snap.
Drum vs Disc Brake Setup
Depending on the model year, your Kia Rio may use:
- Rear drum brakes
- Rear disc brakes with internal drum parking brake
Each setup slightly changes how we approach adjustment, but the core idea remains the same: tighten the system so it grips effectively.
Signs Your Kia Rio Handbrake Needs Adjustment
1. Excessive Lever Travel
If you’re pulling the handbrake almost to the sky before it engages, that’s a red flag.
2. Car Rolls on Inclines
A properly adjusted handbrake should hold your car firmly—even on a steep hill.
3. Weak Resistance
If it feels loose or soft, like it’s not “biting,” it’s time to act.
4. Clicking Sound Too Many Times
Most handbrakes should engage within 5–8 clicks. More than that? Adjustment needed.
Tools You’ll Need Before Starting
Let’s keep it simple. You don’t need a full mechanic’s garage.
- Socket wrench set
- Screwdriver (flathead)
- Jack and jack stands
- Wheel chocks
- Flashlight
- Gloves (optional but recommended)
Think of it like cooking—you don’t need a professional kitchen, just the right ingredients.
Safety First: Don’t Skip This Step
Before we dive in, let’s set the stage:
- Park on a flat surface
- Engage first gear (manual) or park (automatic)
- Use wheel chocks
- Never rely solely on the jack—always use stands
Because honestly, no DIY fix is worth risking your safety.
Step-by-Step Kia Rio Handbrake Adjustment
Step 1: Locate the Adjustment Point
In most Kia Rio models, the adjustment nut is located:
- Under the center console near the handbrake lever
Sometimes, you’ll need to remove a small plastic cover or trim panel.
Step 2: Access the Handbrake Cable
Use a screwdriver to gently pry open the trim. Underneath, you’ll see:
- The handbrake lever mechanism
- A threaded rod with an adjustment nut
This is where the magic happens.
Step 3: Tighten the Adjustment Nut
Using a socket wrench:
- Turn the nut clockwise to tighten
- Make small adjustments (¼ turns)
Think of it like tuning a guitar—you don’t crank it all at once.
Step 4: Test the Lever
After each adjustment:
- Pull the handbrake
- Count the clicks
- Check resistance
We’re aiming for that sweet spot: firm engagement within 5–7 clicks.
Step 5: Check Rear Wheel Resistance
Jack up the rear wheels and:
- Spin them freely with the handbrake off
- Engage the handbrake and confirm they lock
If they don’t? Tighten a bit more.
Adjusting Rear Brake Shoes (If Needed)
When Cable Adjustment Isn’t Enough
Sometimes, tightening the cable alone won’t fix the issue. That’s when we need to look at the brake shoes.
Steps to Adjust Brake Shoes
- Remove the rear wheel
- Access the brake drum or disc assembly
- Locate the star wheel adjuster
- Rotate it to expand the shoes
This ensures the brakes themselves are properly positioned.
Common Mistakes to Avoid
Let’s save ourselves some headaches:
- Over-tightening: Can cause brake drag and overheating
- Ignoring uneven braking: Both sides must engage equally
- Skipping wheel tests: Always verify performance
- Forgetting to reassemble trim: Sounds obvious, but it happens
How Often Should You Adjust the Handbrake?
There’s no strict schedule, but a good rule of thumb:
- Every 20,000–30,000 km
- Or when symptoms appear
It’s like checking tire pressure—you don’t wait for a flat.
Cost Comparison: DIY vs Mechanic
DIY Approach
- Cost: Minimal (tools if needed)
- Time: 30–60 minutes
Professional Service
- Cost: $50–$150 (varies by region)
- Time: 1 hour
If you’re comfortable with basic tools, DIY is a no-brainer.
Different Kia Rio Generations and Adjustments
Older Models (Pre-2012)
- Simpler drum brake systems
- Easier manual adjustments
Newer Models (2012+)
- More refined systems
- Sometimes tighter access to adjustment nut
But don’t worry—the process remains largely the same.
Troubleshooting Persistent Issues
Handbrake Still Loose?
- Check for stretched cable
- Inspect worn brake shoes
Brake Dragging?
- You’ve likely over-tightened
- Loosen slightly and retest
Uneven Hold?
- One side may need shoe adjustment
When to Replace Instead of Adjust
Sometimes, adjustment isn’t enough. Look for:
- Frayed or rusted cables
- Severely worn brake shoes
- Broken internal components
At that point, replacement is the smarter move.
Pro Tips for a Perfect Adjustment
- Make gradual changes
- Test frequently
- Always check both wheels
- Listen to the feel—your hands know more than you think
Is It Worth Doing Yourself?
Absolutely—if you’re comfortable with basic car maintenance.
It’s one of those tasks that feels intimidating at first but becomes second nature once you try it. Like learning to ride a bike—you wobble at first, then suddenly, you’re cruising.
Final Thoughts: Small Fix, Big Impact
Adjusting the handbrake on your Kia Rio isn’t just about convenience—it’s about safety, confidence, and control.
We often overlook the small details in our cars, but those details are what keep everything running smoothly. A properly adjusted handbrake means:
- Safer parking
- Better brake performance
- Longer component lifespan
And honestly, there’s something satisfying about fixing it yourself.
FAQs About Kia Rio Handbrake Adjustment
1. How many clicks should a Kia Rio handbrake have?
Ideally, 5–7 clicks for proper engagement.
2. Can I drive with a loose handbrake?
Yes, but it’s unsafe when parked—especially on slopes.
3. How long does adjustment take?
Typically 30–60 minutes for a DIY job.
4. Do I need to remove wheels for adjustment?
Not always—only if adjusting brake shoes.
5. Why does my handbrake loosen over time?
Cable stretching and brake wear are the main causes.
If you want to know other articles similar to Kia Rio Handbrake Adjustment: The Complete DIY Guide for Smooth, Safe Parking you can visit the category Service and Parts.
Nissan Qashqai Fuel Tank Capacity: Complete Guide

Suzuki Swift Fuel Tank Capacity: Complete Guide

Mazda CX-5 Weight (2013–2026): Complete Guide in Pounds and KG

Kia Sportage Dashboard Symbols and Warning Lights

MINI Cooper Weight (2002–2027): Complete Weight Chart & Guide

Toyota RAV4 Engine Sizes: Complete Guide (1994–2026)
Leave a Reply
More content of your interest