

Renault Megane Headlight Removal – A Complete Hands-On Guide
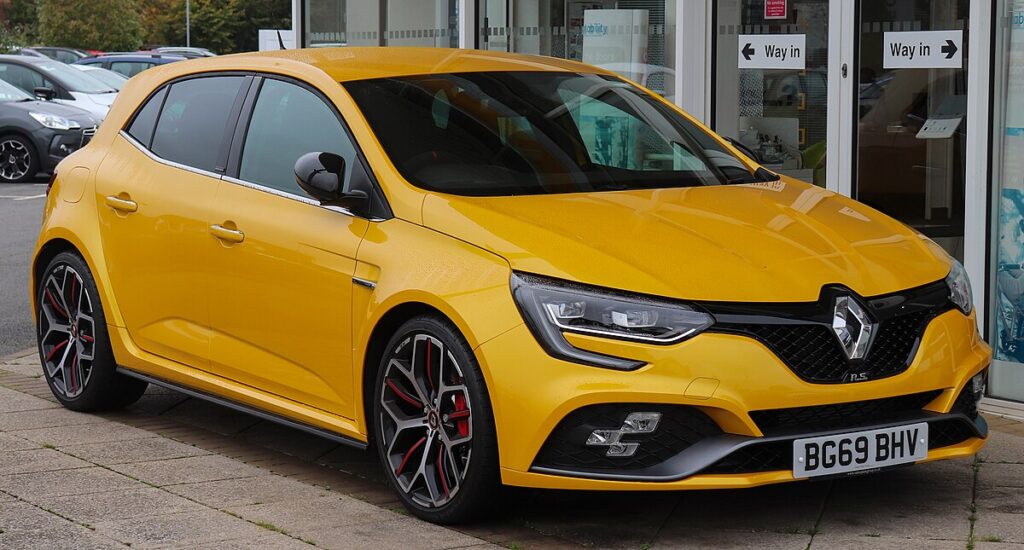
Headlights are the eyes of your Renault Megane. When they cloud over, fail, or need upgrading, removing them can feel like performing surgery with oven mitts on. We’ve all been there—standing in the driveway, tools scattered, wondering why a simple bulb swap turned into a full-blown adventure.
In this guide, we walk through Renault Megane headlight removal step by step, calmly, clearly, and without the fluff. We’ll cover different Megane generations, common mistakes, handy shortcuts, and the little tricks no one tells you. Think of this as a friend leaning over the engine bay saying, “Don’t worry, I’ve got you.”
Content in this publication
- Why You Might Need to Remove Renault Megane Headlights
- Understanding Renault Megane Headlight Design
- Renault Megane Generations Covered in This Guide
- Tools You’ll Need Before Starting
- Safety First – Small Steps That Save Big Headaches
- Step-by-Step Renault Megane Headlight Removal
- Step 1: Remove the Upper Slam Panel Fasteners
- Step 2: Release the Wheel Arch Liners
- Step 3: Undo Bumper Side Fixings
- Step 4: Remove Lower Bumper Fasteners
- Step 5: Disconnect Fog Lights and Sensors
- Step 6: Remove or Loosen the Front Bumper
- Step 7: Locate Renault Megane Headlight Mounting Bolts
- Step 8: Disconnect the Headlight Wiring Harness
- Step 9: Slide the Headlight Unit Out
- Common Mistakes During Renault Megane Headlight Removal
- Special Notes for Xenon and LED Headlights
- Headlight Alignment – Don’t Skip This Step
- Refitting Renault Megane Headlights
- Estimated Time and Difficulty Level
- When Professional Help Makes Sense
- Renault Megane Headlight Removal – Is It Worth DIY?
- Final Thoughts – Seeing Clearly Again
- Frequently Asked Questions
Why You Might Need to Remove Renault Megane Headlights
Before grabbing a socket wrench, let’s be honest—headlights rarely come off just for fun. Removal usually becomes necessary when:
- The headlight unit is cracked or fogged
- Internal moisture keeps returning
- You’re upgrading to xenon or LED units
- Adjusters inside the housing have failed
- The bumper must come off for body repairs
In short, Renault Megane headlight removal is often unavoidable, not optional.
Understanding Renault Megane Headlight Design
Renault didn’t design the Megane headlights to be removed weekly. They’re tightly integrated with:
- The front bumper
- Wing (fender) edges
- Slam panel and radiator support
This means most Megane models require partial or full bumper removal before the headlights can slide out.
Renault Megane Generations Covered in This Guide
This guide applies broadly to the most common Megane versions:
Renault Megane Mk2 (2002–2008)
- Hatchback, saloon, estate
- Halogen and xenon setups
Renault Megane Mk3 (2008–2016)
- Most popular in Europe
- Tight bumper-headlight integration
Renault Megane Mk4 (2016–2023)
- LED and signature DRLs
- More sensors and wiring involved
While trim details vary, the removal logic remains surprisingly similar.
Tools You’ll Need Before Starting
Nothing kills motivation like realizing you’re missing a tool halfway through. Lay everything out first.
Recommended tools:
- Torx drivers (T20, T25, T30)
- 10mm socket and ratchet
- Flat-blade screwdriver
- Trim removal tool
- Gloves (plastic edges bite)
- Blanket or cardboard (to protect bumper)
Safety First – Small Steps That Save Big Headaches
Before touching anything electrical:
- Turn ignition off
- Remove the key or card
- Disconnect the negative battery terminal
- Let the engine cool fully
Modern Meganes don’t appreciate electrical surprises.
Step-by-Step Renault Megane Headlight Removal
Now we get our hands dirty—in a good way.
Step 1: Remove the Upper Slam Panel Fasteners
Open the bonnet and look straight down above the grille.
You’ll see:
- Torx screws
- Plastic push clips
Remove these first. They anchor the bumper’s top edge and block headlight access.
Step 2: Release the Wheel Arch Liners
Turn the front wheels fully left, then right.
Inside each arch:
You may be interested in reading Renault Megane Tyre Pressure Reset – A Complete, No-Nonsense Guide We Actually Use
- Remove Torx screws securing the liner
- Pull liner back gently
This exposes bumper-to-wing bolts, which are crucial for headlight removal.
Step 3: Undo Bumper Side Fixings
Behind the wheel arch liner, locate:
- 10mm bolts or Torx screws
- One per side (sometimes two)
Remove them carefully. The bumper will now feel looser at the corners.
Step 4: Remove Lower Bumper Fasteners
Crouch down and look underneath the front bumper.
You’ll find:
- Multiple Torx screws
- Occasionally plastic clips
Remove all of them. The bumper should now hang freely.
Step 5: Disconnect Fog Lights and Sensors
Before pulling the bumper away completely:
- Reach behind carefully
- Unplug fog light connectors
- Disconnect parking sensors or washer hoses if fitted
This step separates calm DIYers from snapped-wire horror stories.
Step 6: Remove or Loosen the Front Bumper
At this stage, you have two options:
Partial Bumper Drop (Recommended)
- Pull bumper forward 10–15 cm
- Rest it gently on a blanket
Full Bumper Removal
- Remove completely for best access
- Useful for Mk3 and Mk4 models
Both methods work—choose based on space and patience.
Step 7: Locate Renault Megane Headlight Mounting Bolts
With the bumper out of the way, the headlight finally reveals its secrets.
Typical mounting points:
- One top bolt
- One inner bolt near the grille
- One lower bolt hidden behind bumper line
Remove all bolts but support the unit as you go.
Step 8: Disconnect the Headlight Wiring Harness
Before pulling the unit free:
- Press the locking tab on the wiring plug
- Wiggle gently—don’t yank
- Check for secondary clips on xenon or LED models
Electrical connectors hate impatience.
Step 9: Slide the Headlight Unit Out
Now comes the satisfying part.
- Pull the headlight forward and outward
- Watch the wing edge—tight clearance here
- Tilt slightly if needed
The headlight should slide out cleanly, like a drawer at last surrendering.
Common Mistakes During Renault Megane Headlight Removal
Avoid these headaches:
You may be interested in readingRenault Megane Tyre Pressure Reset – A Complete, No-Nonsense Guide We Actually UseYou may be interested in reading
 Renault Megane Windscreen Replacement Cost: What We Really Pay and Why
- Forcing the unit without removing hidden bolts
- Forgetting lower bumper screws
- Snapping plastic tabs by rushing
- Leaving battery connected
Most broken headlights aren’t defective—they’re victims of impatience.
Special Notes for Xenon and LED Headlights
If your Megane has xenon or LED units:
- Additional ballast connectors may exist
- Units are heavier—support them well
- Replacement costs are high
Treat them like fine glassware, not garden tools.
Headlight Alignment – Don’t Skip This Step
After refitting headlights:
- Alignment often shifts slightly
- Misaligned beams = failed MOT
Use the adjustment screws or have alignment checked professionally.
Refitting Renault Megane Headlights
Refitting is removal in reverse—but slower.
Key refitting tips:
- Seat headlight fully before tightening bolts
- Reconnect wiring firmly
- Test lights before bumper refit
- Ensure bumper clips seat correctly
That last point alone saves hours of cursing.
Estimated Time and Difficulty Level
- Time: 60–120 minutes
- Difficulty: Moderate DIY
- Skill level: Confident beginner
If you can change brake pads, you can handle this.
When Professional Help Makes Sense
Consider a garage if:
- Sensors or adaptive headlights are fitted
- Wiring shows signs of damage
- Body alignment issues exist
Sometimes wisdom beats pride.
Renault Megane Headlight Removal – Is It Worth DIY?
Absolutely—if done carefully. Removing Megane headlights isn’t hard; it’s methodical. Like untangling headphones, brute force never wins. Patience does.
Final Thoughts – Seeing Clearly Again
We’ve all driven at night with one dull eye and one bright one, hoping no one notices. Now you know how to remove Renault Megane headlights properly—no guesswork, no snapped tabs, no regret.
Take your time. Lay out your tools. Treat the car like a conversation, not a confrontation. And when those headlights come free, it feels oddly victorious—like solving a puzzle the car didn’t want you to see.
Frequently Asked Questions
Can I remove Renault Megane headlights without removing the bumper?
In most cases, no. Partial bumper loosening is usually required for safe access.
How long does Renault Megane headlight removal take?
Expect 1–2 hours for first-timers, less with experience.
Do I need special tools for Megane headlights?
Mostly Torx drivers and a 10mm socket—nothing exotic.
Will headlight alignment change after removal?
Often yes. Always check alignment afterward.
Is it safe to drive with one headlight removed?
No. Never drive without headlights securely installed.
You may be interested in readingRenault Megane Tyre Pressure Reset – A Complete, No-Nonsense Guide We Actually UseYou may be interested in reading
Renault Megane Windscreen Replacement Cost: What We Really Pay and WhyYou may be interested in reading
 Renault Megane 3 Headlight Bulb Type – The Complete, No-Nonsense Guide
If you want to know other articles similar to Renault Megane Headlight Removal – A Complete Hands-On Guide you can visit the category Service and Parts.
Chevrolet Malibu Engine Options: A Complete Guide to Power, Performance, and Efficiency
Chevrolet Malibu Boot Space: A Complete Guide to Trunk Capacity, Practicality, and Everyday Use

How Much Does Nissan Altima Weigh? Complete Weight Guide by Model Year and Trim
Nissan Altima Battery Size: Complete Guide to Choosing the Right Battery
Nissan Altima Tank Size: Everything You Need to Know About Fuel Capacity and Driving Range
Nissan Altima Oil Type: The Complete Guide to Choosing the Right Engine Oil
Leave a Reply
More content of your interest